Trying to figure out how to clean Roka bag without damaging it? This comprehensive guide will walk you through every step of the process. Whether you’re a first-timer or just looking for a better way, we’ve got you covered.
How to Clean Roka Bags
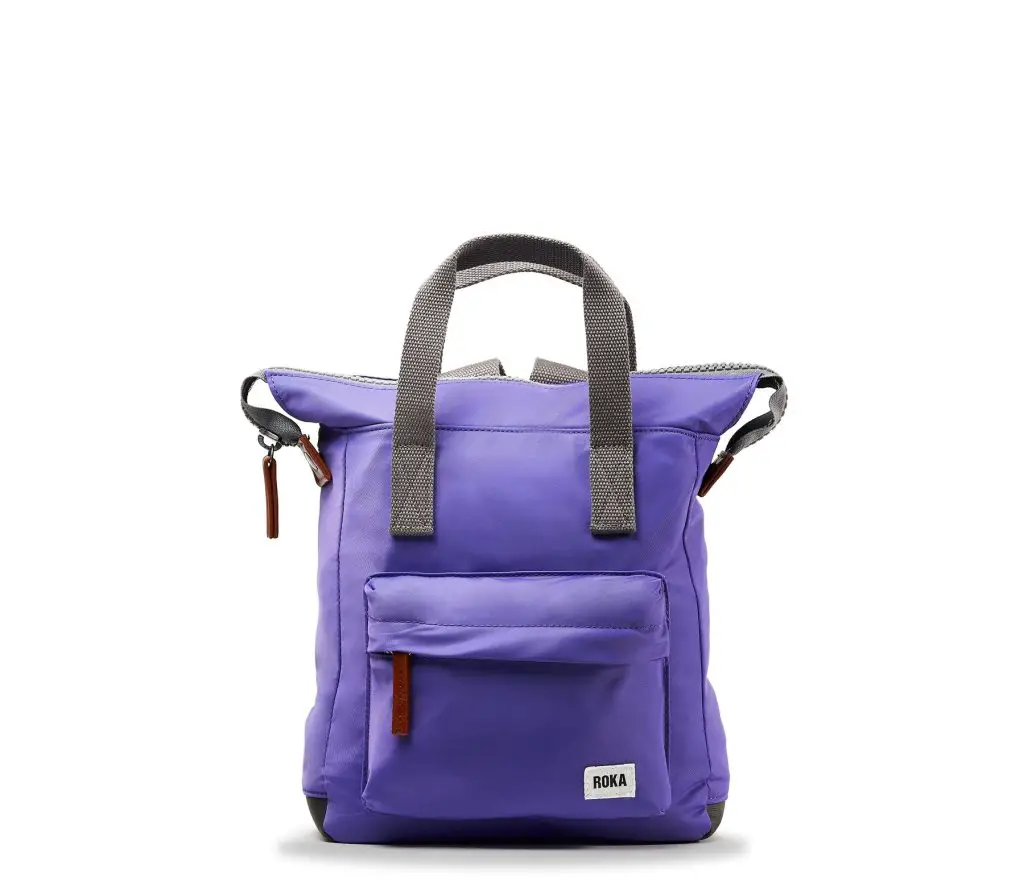
Follow the steps below to clean your Roka bag…
Step 1: Identify the Material of Your Roka Bag
Before you get started, it’s important to know the material of your Roka bag. This can usually be found on the tag inside the bag. Knowing the material will help you choose the correct cleaning agents and methods.
Step 2: Gather Cleaning Supplies
For most Roka bags, you’ll need the following cleaning supplies:
- Soft cloth or sponge
- Mild detergent
- Warm water
- Towel
Step 3: Preparation
Emptying the Bag
The first step in preparing your Roka bag for cleaning is to empty it completely. Make sure to check all pockets, compartments, and hidden zippers to ensure nothing is left inside. Forgotten items could either get damaged during the cleaning process or impede the cleaning itself.
Zip Up All Compartments
It might seem counterintuitive, but you’ll want to zip up all compartments after emptying them. Closed zippers will protect the inner linings of each pocket, as well as prevent the zippers themselves from getting caught or damaged.
Detach Any Removable Parts
Some Roka bags come with detachable straps, pouches, or other accessories. If your bag has any such components, take a moment to remove them.
These should be cleaned separately to ensure that each part is given the appropriate cleaning attention it needs. Check your manufacturer’s guide to see how to detach and reattach these pieces properly.
Read more articles on bag cleaning here – How to Clean Bags: Your Comprehensive Guide for Spotless Bags
Step 4: The Cleaning Process
Prepare the Cleaning Solution
Fill a sink or basin with warm water — not too hot, as extreme temperatures could damage the material of the bag. Add a small amount of mild detergent to the water and stir until it’s well-mixed. The mild detergent will help lift dirt and stains without being too harsh on the material.
Clean With a Soft Cloth or Sponge
Dip a soft cloth or sponge into your prepared cleaning solution. Make sure to wring out any excess moisture thoroughly; you want the cloth to be damp, not dripping. This will help you avoid saturating the material, which could take longer to dry or even damage it.
Gently Wipe Down the Bag
Starting from the top and working your way down, gently wipe the surface of the bag. Use circular motions and be careful not to scrub too hard, as you don’t want to damage the material. Pay extra attention to areas that are heavily soiled. These spots may require a bit more time and care.
Focus on Problem Areas
Some areas like the bottom of the bag or corners can accumulate more dirt than others. Use a gentle dabbing motion to focus on these areas, applying a little more detergent if needed. Again, refrain from harsh scrubbing.
Step 5: Drying Your Roka Bag
Rinse Off Detergent Residue
Once you’ve finished cleaning, it’s crucial to remove all detergent residue. Rinse the cloth or sponge thoroughly, and then wipe down the bag with clean water. You can also run the bag under a gentle stream of cold water to ensure all soap is removed.
Pat Dry with a Towel
Take a clean, dry towel and pat down the bag to remove excess water. Be sure not to twist or wring the bag, as it can deform its shape or weaken the material.
Air-Drying
Hang the bag in a well-ventilated area, ensuring it’s not exposed to direct sunlight. Sunlight can fade the color of your bag, so a shaded area is preferable. Make sure the bag is fully open so that air can circulate inside it, aiding in the drying process.
How to Clean Roka Bags: Conclusion
Cleaning your Roka bag is easier than you may have thought. By following these simple steps, you can keep your bag looking new and extend its lifespan.